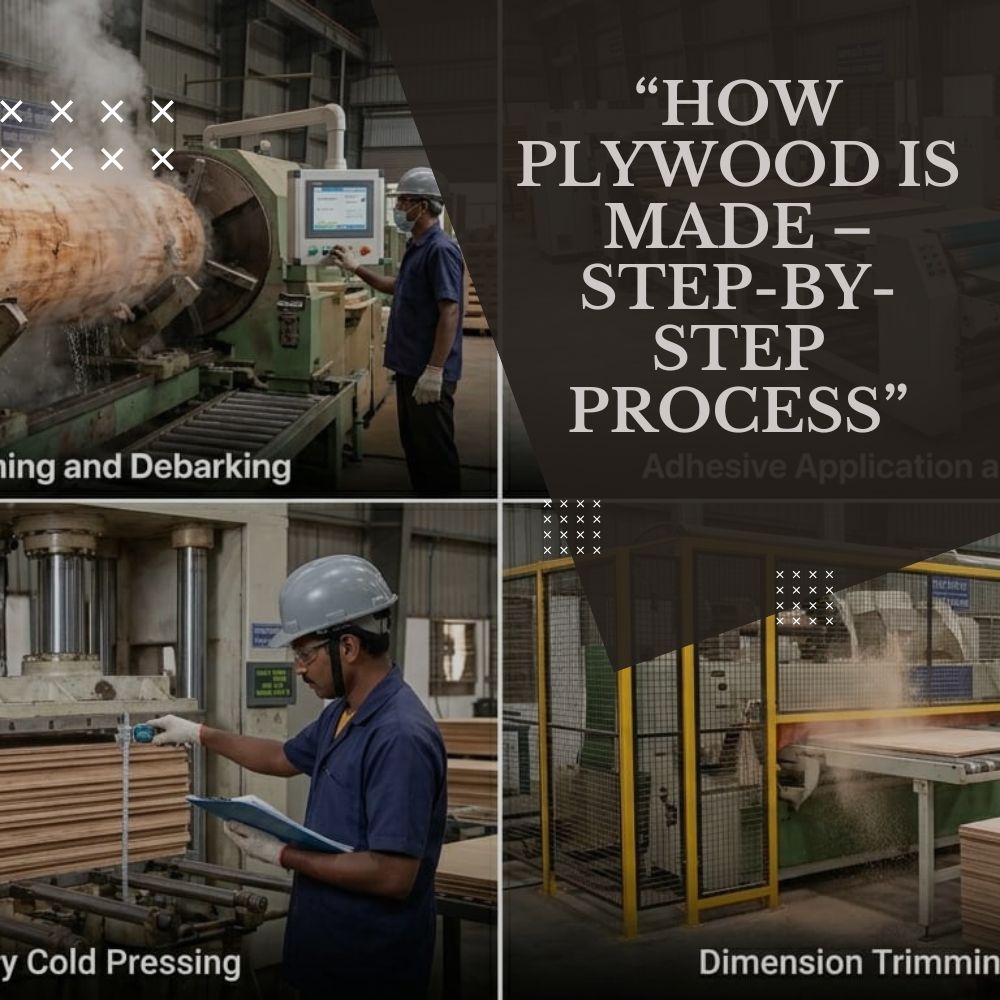
Cutting plywood at home requires proper technique and tools to get clean edges without splintering. First, measure and mark your line clearly, then support the sheet firmly on a stable surface before using a sharp saw or circular saw for a smooth cut. Taking care while cutting helps maintain the strength and finish of the plywood, as explained in “How Plywood is Made – Step-by-Step Process.”
Plywood is one of the most widely used materials in furniture and construction. Known for its strength, durability, and versatility, plywood is created through a carefully controlled manufacturing process.
In this guide, you’ll learn how plywood is made step-by-step, from raw logs to finished sheets.
What is Plywood?
Plywood is an engineered wood made by bonding thin layers of wood veneers together. These layers are arranged in a cross-grain pattern, which gives plywood its strength and stability.
Step-by-Step Process of Making Plywood
1. Log Selection & Cutting
The process starts with selecting high-quality logs.
What happens:
Hardwood or softwood logs are chosen
Logs are cut into manageable sizes
Good quality logs ensure strong plywood.
2. Debarking (Removing Outer Bark)
The bark is removed from the logs using machines.
Purpose:
Clean the wood surface
Prepare logs for further processing
3. Softening the Logs
Logs are soaked in hot water or steamed.
Why it’s done:
Makes wood soft for peeling
Prevents cracks during cutting
4. Veneer Peeling
This is the most important step.
️ Process:
Logs are rotated on a lathe machine
Thin layers (veneers) are peeled off
These thin sheets form the base of plywood.
5. Drying the Veneers
Fresh veneers contain moisture and need to be dried.
Purpose:
Remove excess moisture
Improve bonding strength
6. Grading & Sorting
Veneers are checked for quality.
Based on:
Thickness
Defects (knots, cracks)
Smoothness
High-quality veneers are used for top layers.
7. Gluing & Layering
Veneers are glued together with strong adhesives.
Key point:
Layers are arranged in cross-grain direction
This increases strength and stability
8. Pressing the Sheets
The glued layers are pressed under heat and pressure.
Types of pressing:
Hot pressing
Cold pressing
This step bonds all layers into a solid sheet.
9. Trimming & Sanding
The plywood sheets are cut and polished.
Final touches:
Edges are trimmed
Surface is sanded smooth
10. Quality Testing & Finishing
Final inspection ensures quality standards.
Checks include:
Strength
Thickness
Water resistance
After testing, plywood is ready for use.
Types of Adhesives Used
Different adhesives are used based on plywood type:
MR Grade → Moisture-resistant glue
BWR Grade → Water-resistant glue
BWP Grade → Waterproof glue
Why Cross-Grain Structure is Important?
The cross-layer arrangement:
Prevents bending and cracking
️ Improves strength
Increases durability
Common Misconceptions
Plywood is weak → (It is very strong)
All plywood is waterproof → (Only BWP/BWR types are)
It is the same as MDF → (Different material)
Final Thoughts
The plywood manufacturing process combines technology and precision to create a strong and reliable material. Each step—from log selection to final finishing—plays a crucial role in determining quality.